* Disclaimer - this is a re-post of an older post that was completely messed up graphics wise. So apologies if you've seen this before!
Hello! Long time no see. I've been a bit lazy about blogging because of the quick hit provided but Instagram and the like. With blogging, it feels like I have to have a long involved background story to each project when sometimes I just don't.
Hello! Long time no see. I've been a bit lazy about blogging because of the quick hit provided but Instagram and the like. With blogging, it feels like I have to have a long involved background story to each project when sometimes I just don't.
 |
| Butterick 5281 from 1946 |
I made view B in a Robert Kauffman quilting cotton which I picked up a few months ago in Manchester. And here it is:
 |

I made this dress once before here, and even though I really like it, I was a little uncomfortable with the fit. I jigged around with the pattern again, and the result is a much better fitting dress.
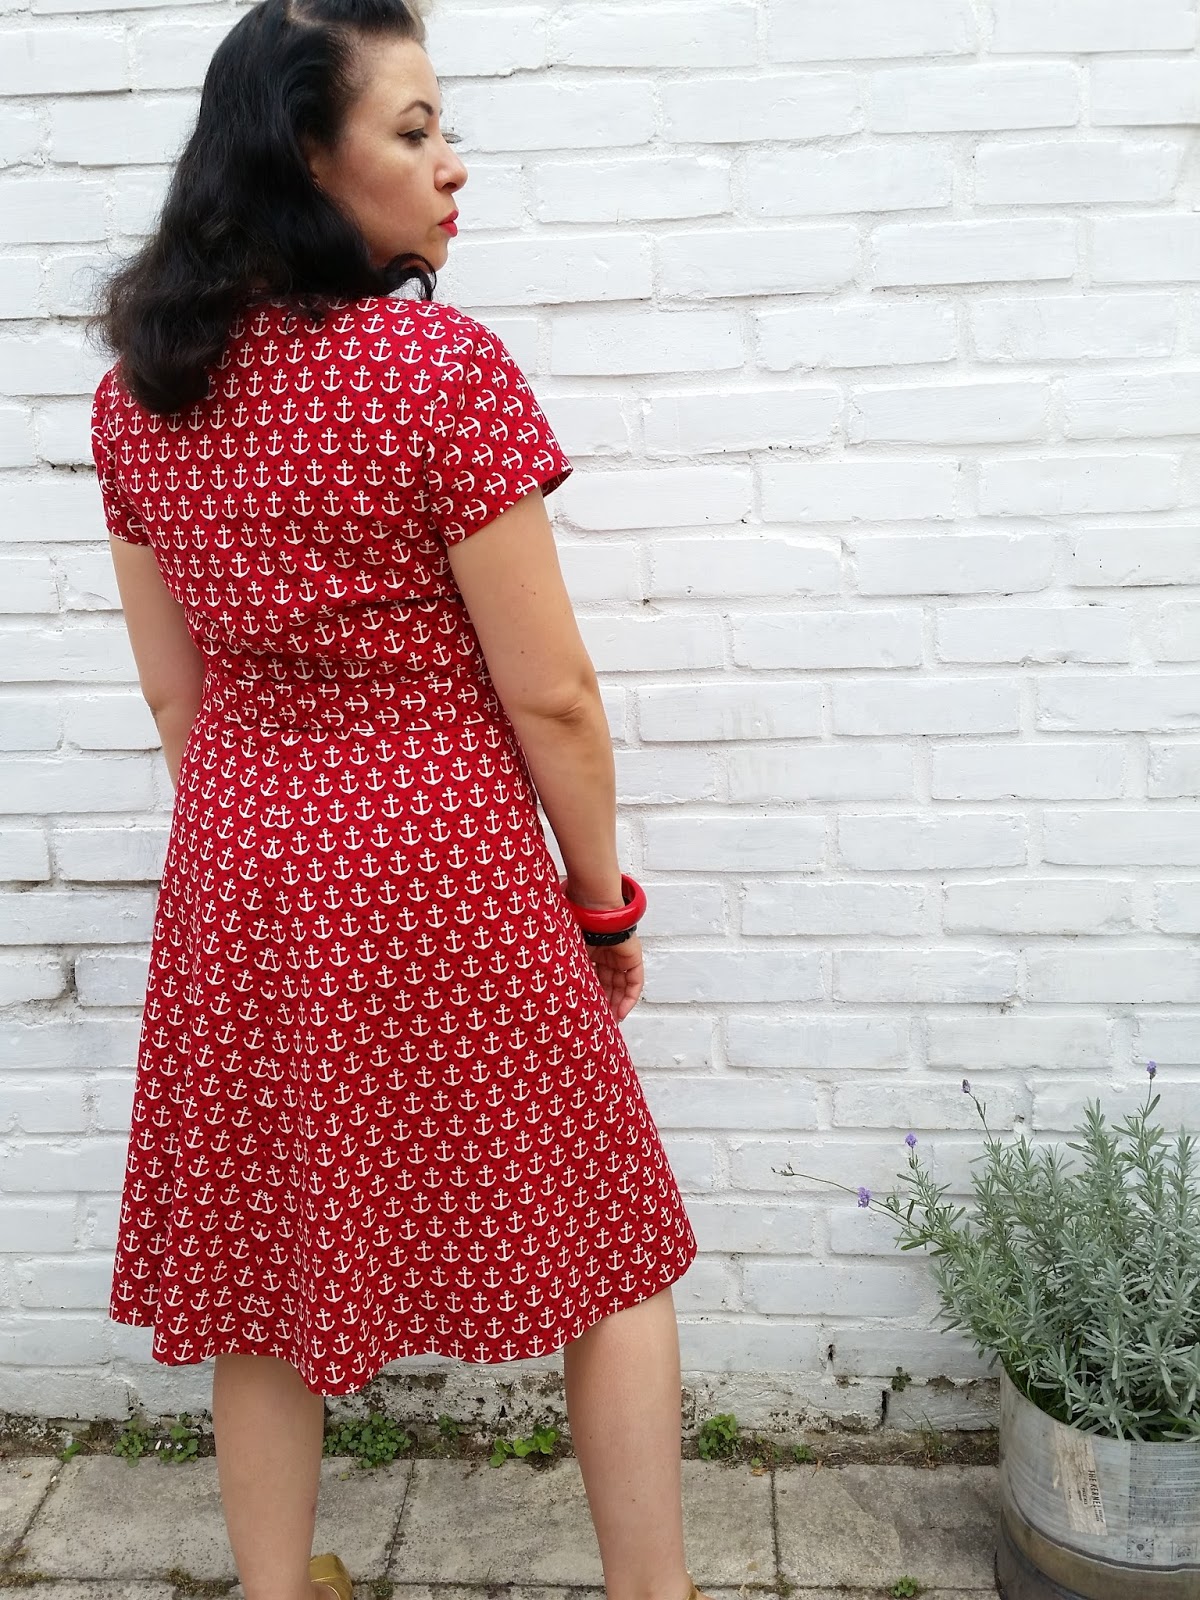
It's kind of hard to see in this busy pattern, but the bodice has some asymmetrical draping with pleats at the right shoulder, and gathering on the left side seam.

With this version, I also made the effort to make a matching belt, using a little clasp from I found years ago in a charity shop:

I'm late posting about this dress - it was finished about 6 weeks ago - but the re-vamped fit has made it so comfortable that I wore it nearly every week until it got cold.

And that's it - see you soon!


